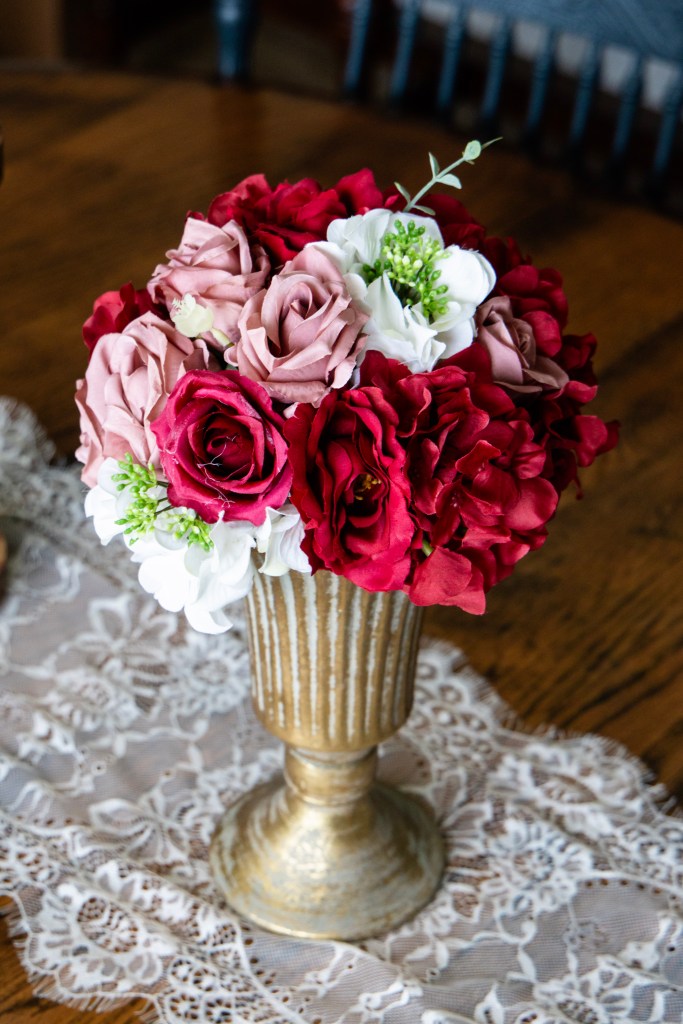
Gone are the days when you have to spend thousands of dollars on fresh wedding flowers just to watch them wilt a few days later. My cousin is getting married this September, and I took it upon myself to create all of her custom floral arrangements using artificial flowers.
Am I against fresh flowers? Absolutely not! They are stunning and elegant, but the truth is, not every wedding budget allows for them—and my cousin’s certainly does not.
Her venue is filled with ready-to-use décor, which is amazing, by the way! However, they didn’t have any flowers that matched her color palette: dusty rose, burgundy, navy blue, and accents of gold.
I am making six small floral centerpieces that will sit on top of tall gold vases. We decided to place one on every other table to add some height throughout the reception space. I’m also creating a custom floral arrangement for the cross at the ceremony, along with smaller arrangements for the pews. Those tutorials will come later!
Follow these simple steps to create your own custom centerpiece for a wedding, special event, or even your home.
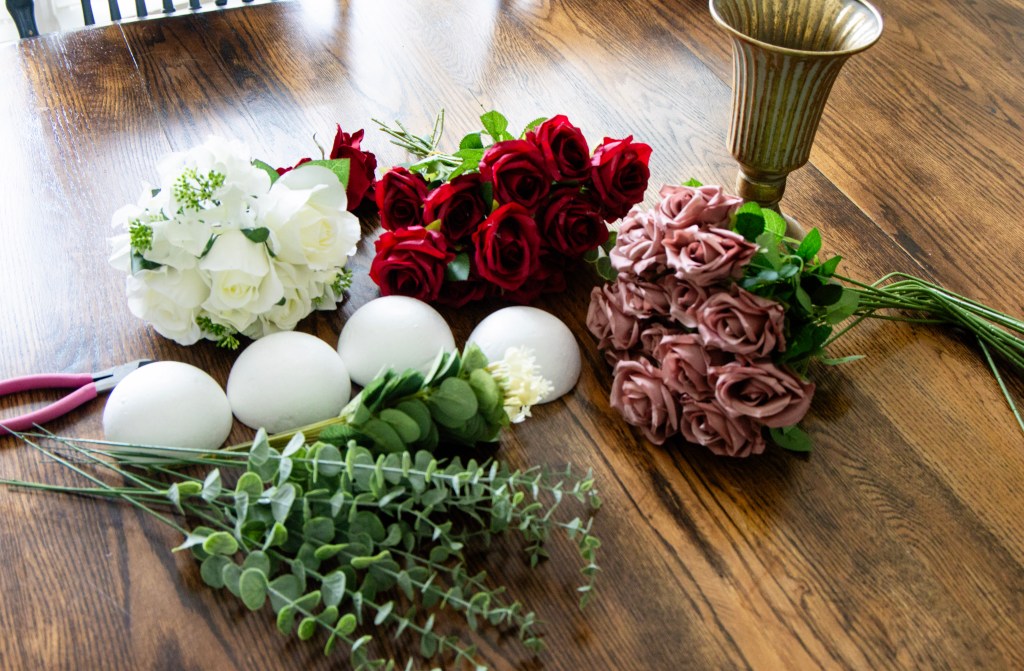
Materials
- Styrofoam half-sphere
- Wire or floral cutters
- Assorted artificial flowers
- Dusty rose roses
- Burgundy roses
- Burgundy hydrangeas
- Small white flowers
- Greenery picks
Step One: Cut Your Flowers
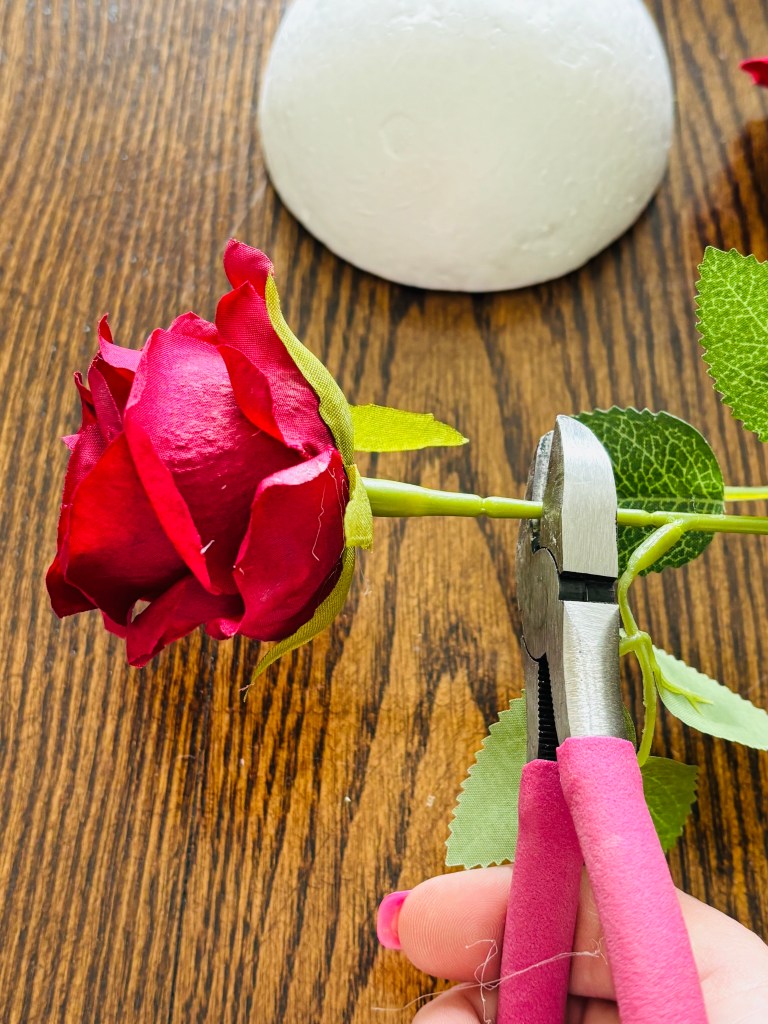
Cut each flower stem about one to one and a half inches below the petals. Precutting some of your flowers will help the project go more smoothly, but I wouldn’t recommend cutting all of them at once. You may not end up using every flower, and once you cut them, there’s no going back!
Step Two: Start With Your Largest Flower
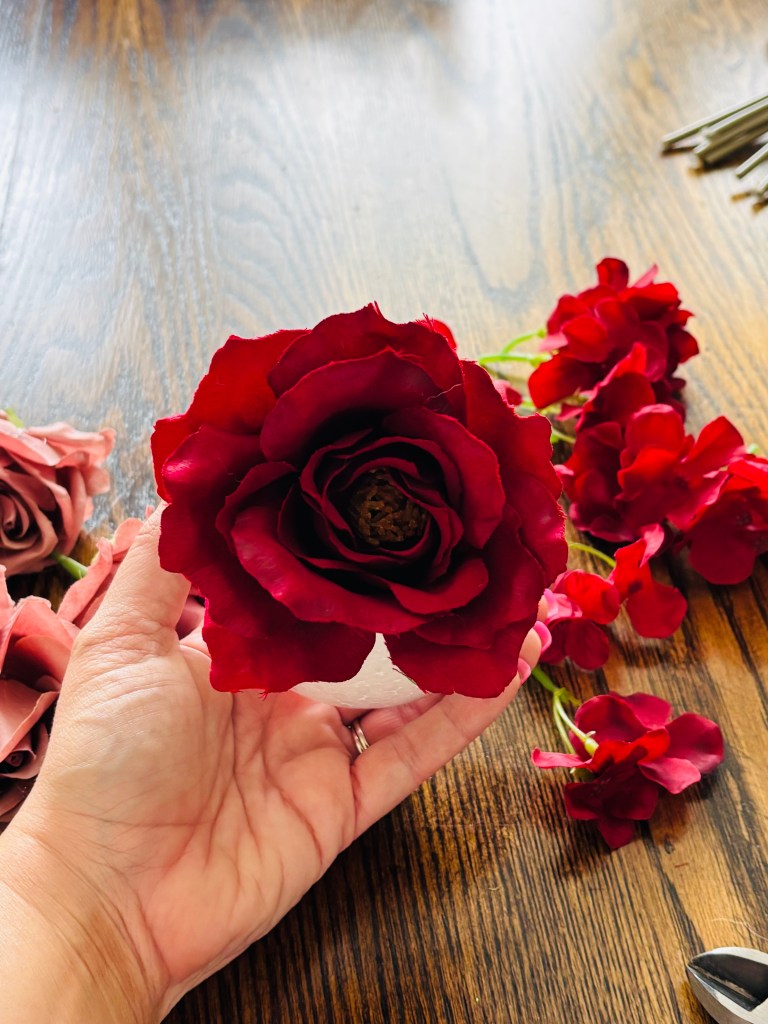
I always like to start my arrangements with the largest flower—or flowers—and then fill in around them.
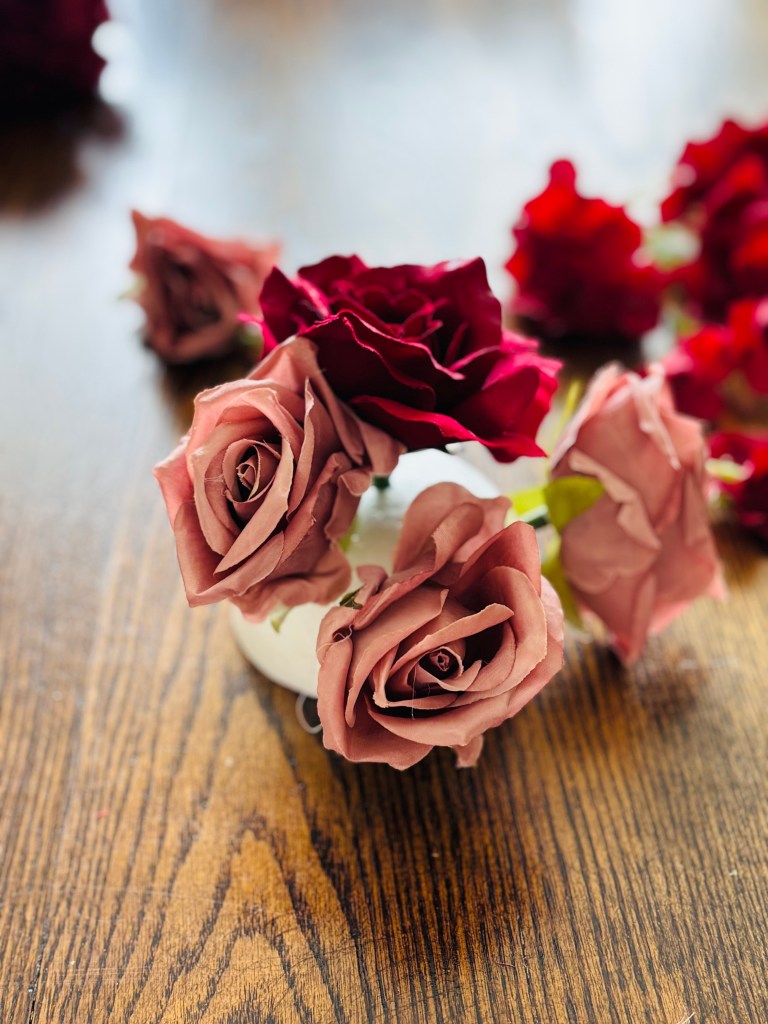
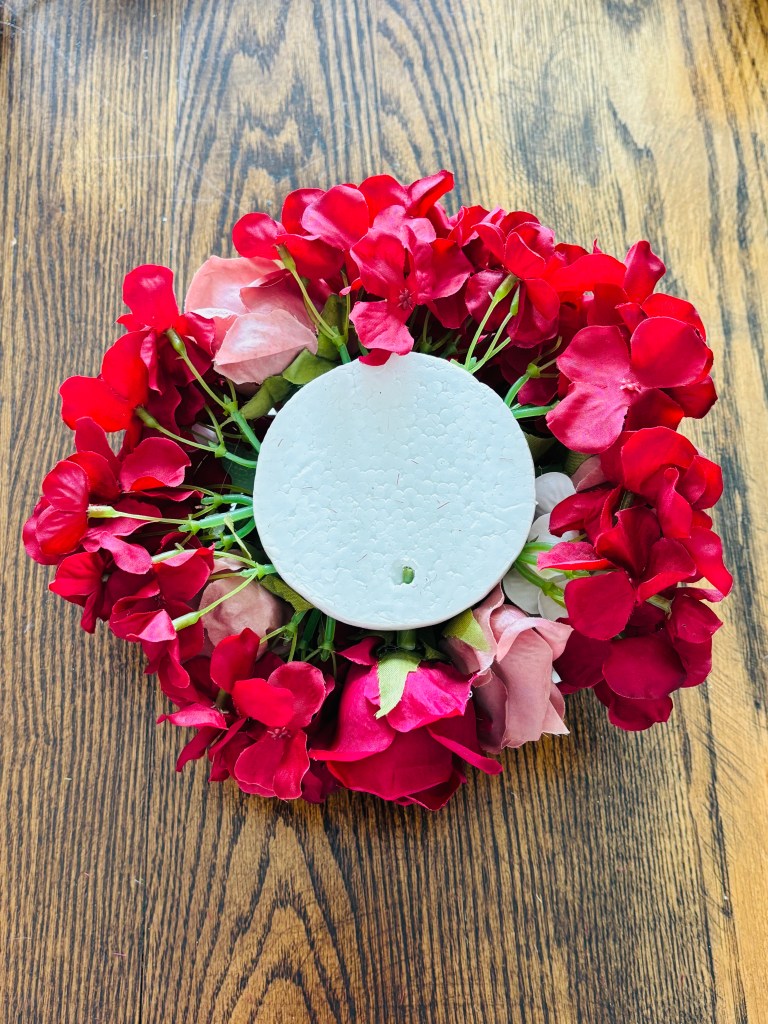
For this centerpiece, I started with one of the larger burgundy roses and placed it directly in the top of the Styrofoam half-sphere. For this piece I used 4 inch styrofoam, but they come in a variety of sizes. I just measured the top of the vases we will be using at the reception. Don’t push the stem all the way into the Styrofoam. Leave a small gap between the flower and the base to give your centerpiece a little more height.
Step Three: Add Your Other Flowers
Next, begin adding some of your other flowers. For this arrangement, I started placing the dusty rose roses around the larger burgundy rose.
Use the same process as before, pushing each stem most of the way into the Styrofoam without pressing it completely against the base. Try to spread the colors evenly throughout the arrangement as you work.
Step Four: Fill in the Bare Spots
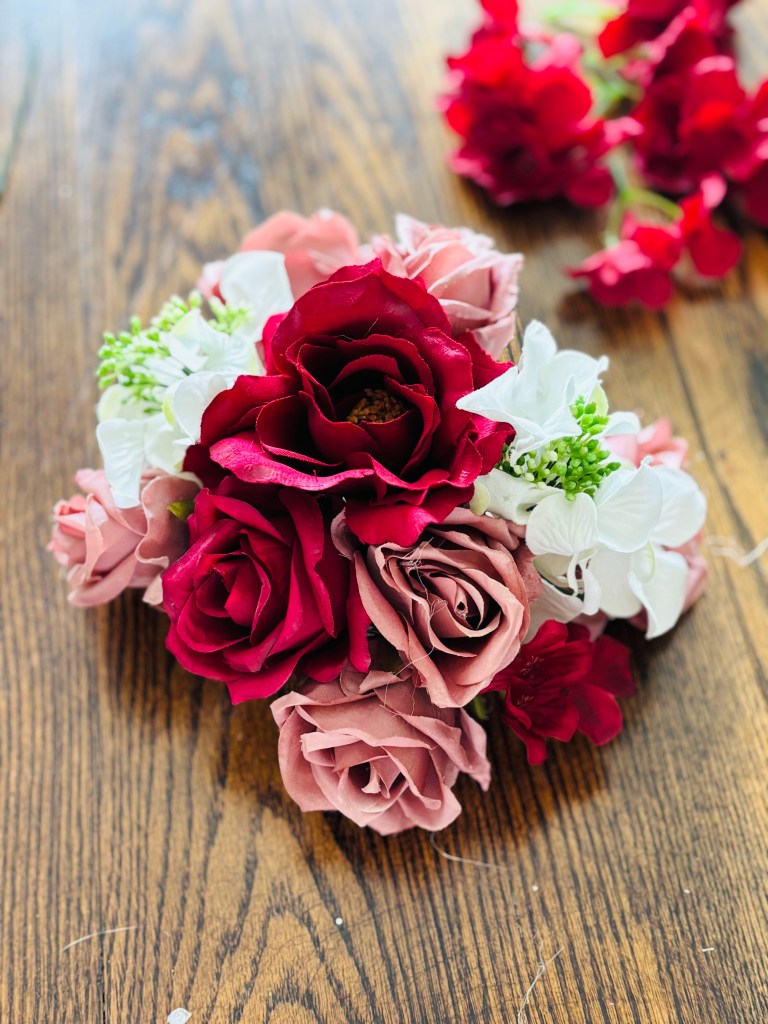
As your arrangement begins to fill out, look at it from every angle and check for any “holes” or bare spots. You don’t want any of the Styrofoam to show when the centerpiece is finished.
I cut apart the burgundy hydrangeas and used the smaller sections to fill in the gaps. I also added a few small white flowers to bring in just a hint of white.
Step Five: Add the Greenery
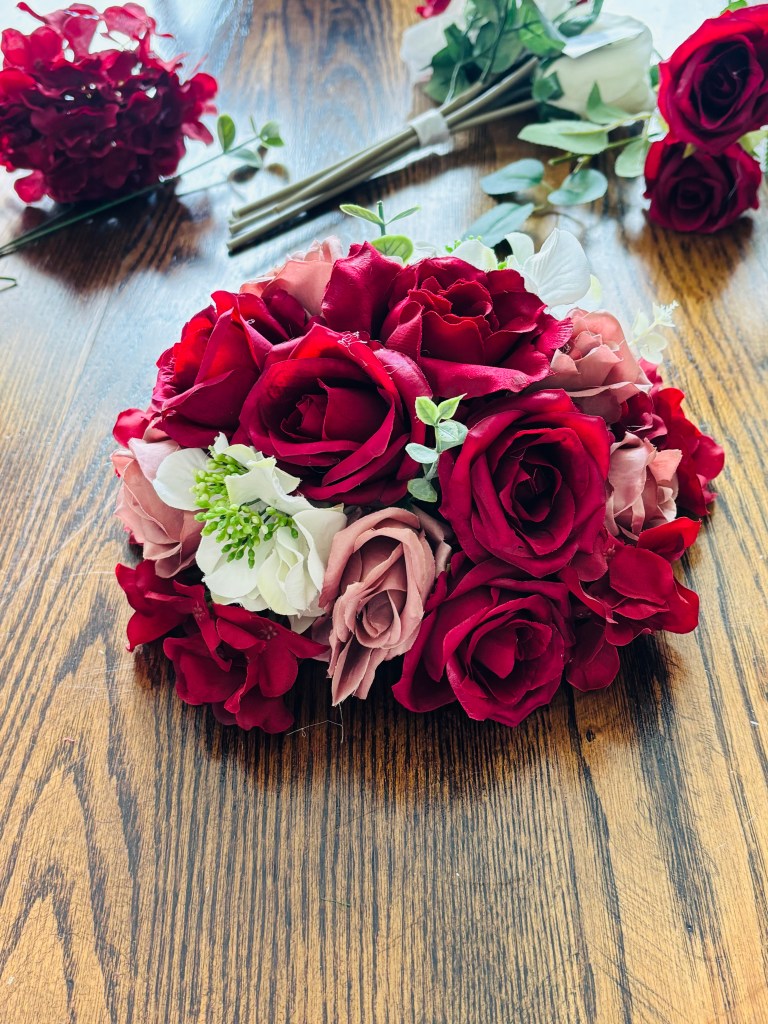
Once all the gaps are filled and you can no longer see the Styrofoam, trim your greenery picks and place a few pieces throughout the arrangement.
I didn’t want a lot of greenery in this centerpiece, so I only used a few small pieces. You can always add more or less depending on the look you are going for.
Pro tip: If you’re creating a larger arrangement, I usually recommend starting with the greenery as your background and then layering the flowers on top.
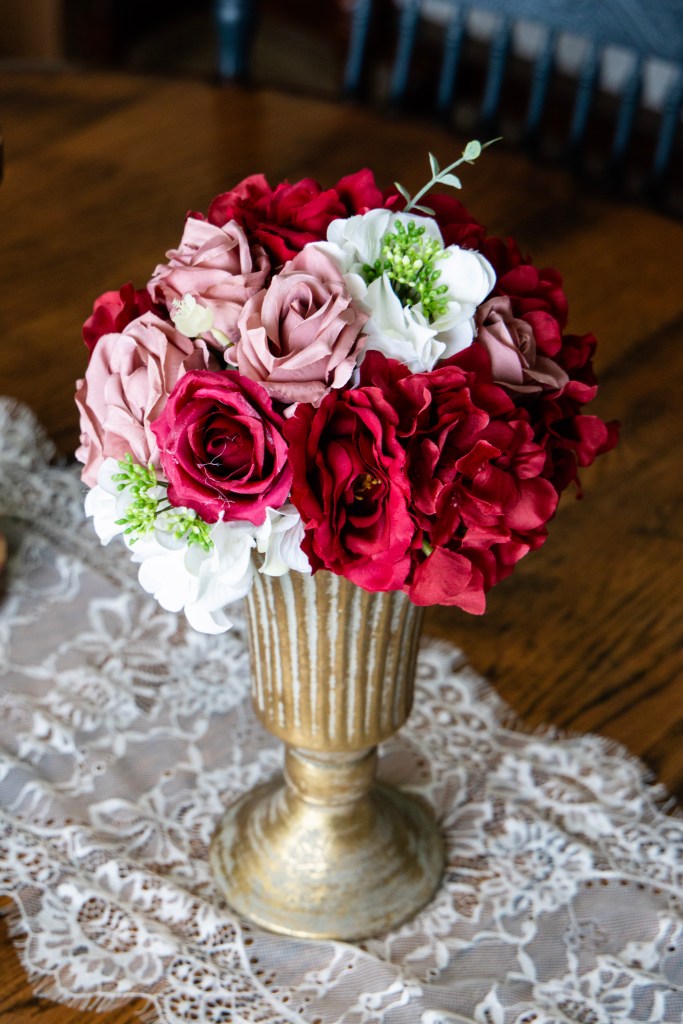
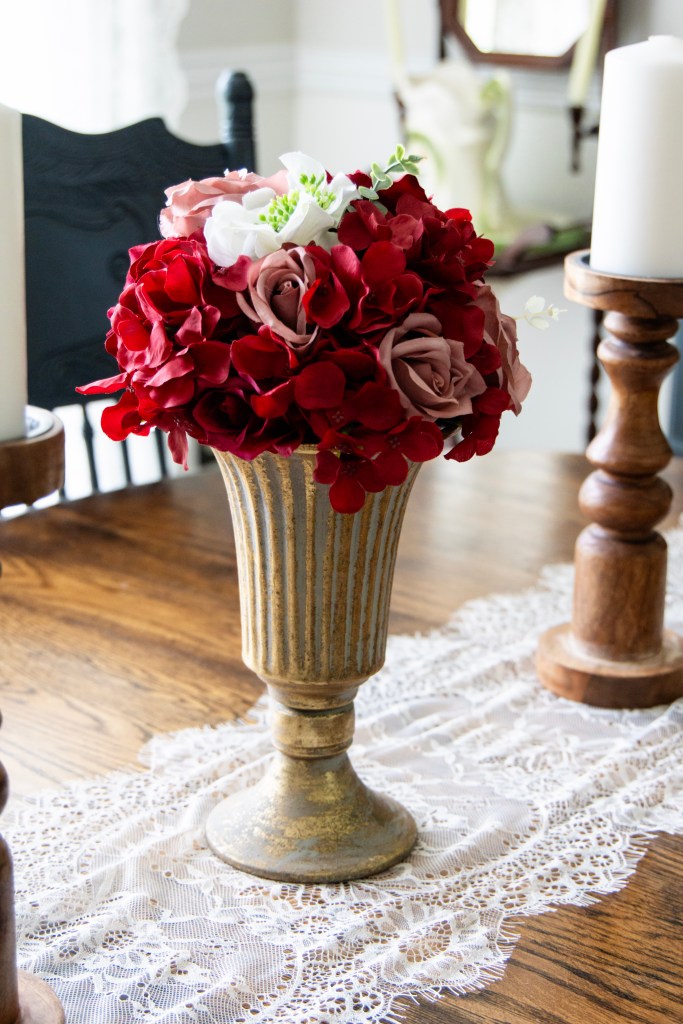
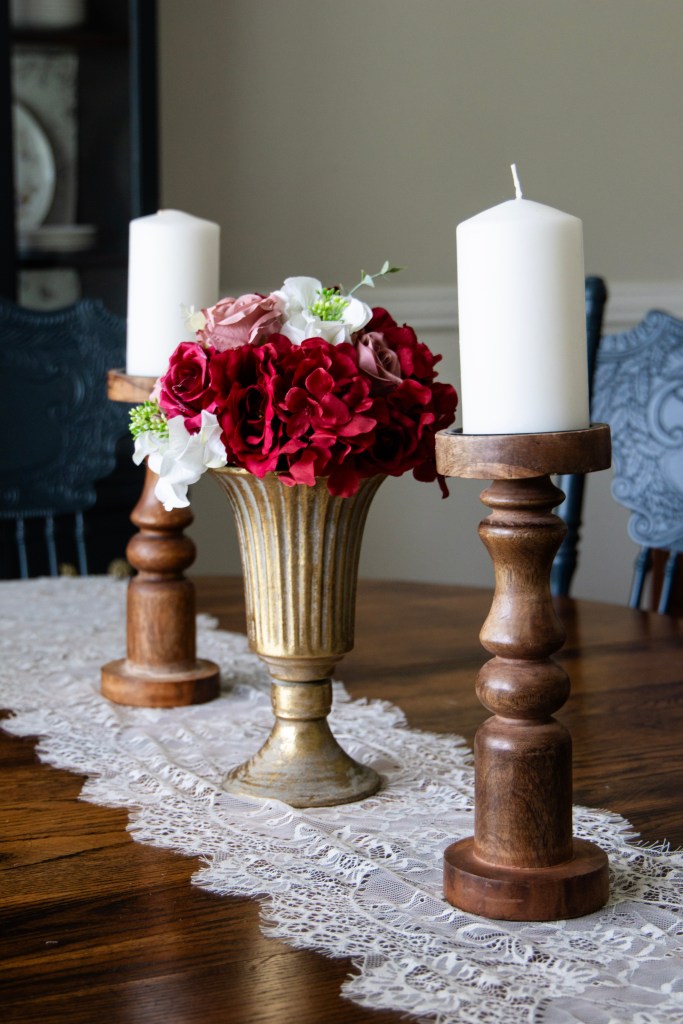
The Finished Centerpiece
And that’s it! With just a few supplies and a little creativity, you can create a beautiful custom floral centerpiece without spending a fortune on fresh flowers. I love that artificial arrangements can be made well ahead of time, reused for another event, or even given to someone to enjoy in their home afterward.
The best part about making your own centerpieces is that you can completely customize them to match your colors, style, and budget. Don’t overthink the placement of every flower—step back, look at the arrangement from different angles, and keep adjusting until it feels balanced.
I can’t wait to see these centerpieces on the tables at my cousin’s wedding this September! Be sure to check back for the tutorials showing how I create the matching cross and pew arrangements.


Leave a comment